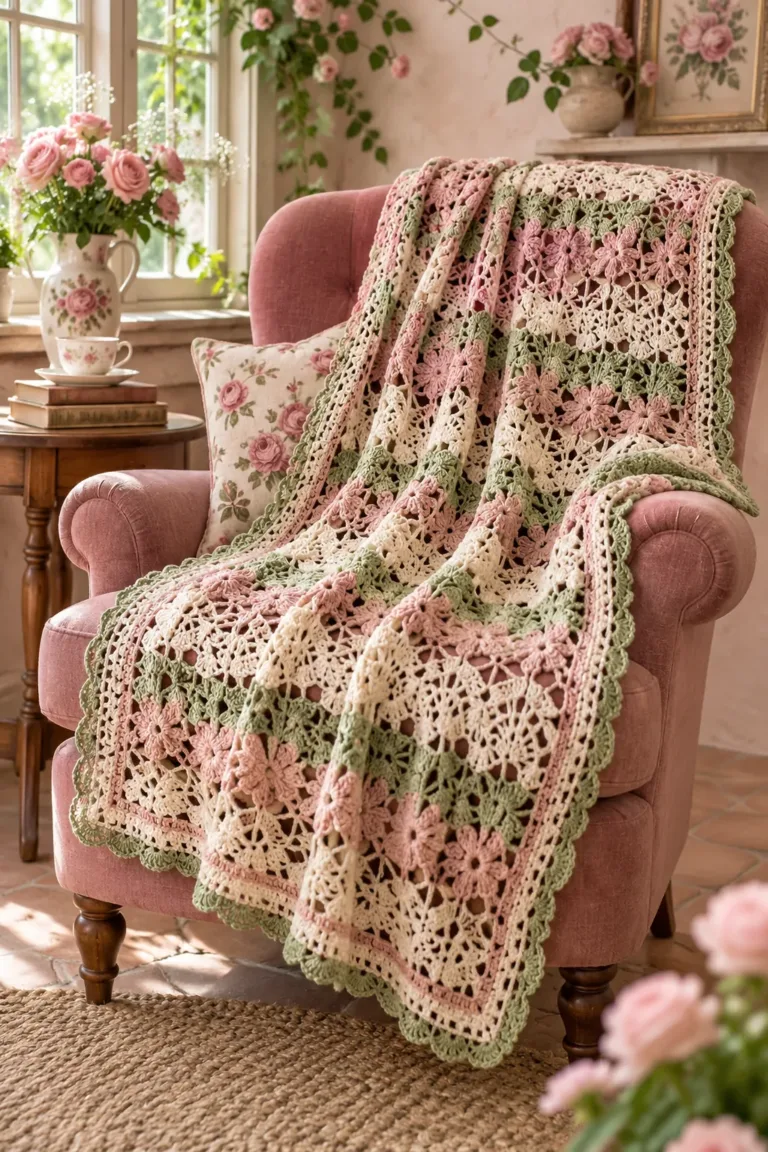
Find the original instructions and photos
This article helps with choosing and planning a project. Use the original designer or publisher for its actual stitch counts, complete instructions and project photographs.
Open Cable & Wave Stitch #1019 by MyPicot
Access: Official stitch lesson and PDFs, not a complete blanket/garment pattern.
Use a controlled sample to compare methods
When comparing a new joining, color-change or finishing technique, change one thing at a time. Use the same yarn, hook and starting sample size for both versions. That makes the difference easier to interpret than comparing two unrelated projects.
Write down the exact method and where it was used. Inspect the front, back and edges, then handle or wash the samples as the finished item will be treated. A technique that looks invisible in one fibre can slip, bulk up or show through in another. Keep the successful sample with the notes so you can repeat the result without relying on memory or a short video thumbnail.
Worked planning example: If one sample finishes at 10 cm and another at 9.5 cm after the same care treatment, the second is 5% narrower. Check whether the changed method or its tension caused that difference before applying it across a long row.
| Check | Useful decision |
|---|---|
| Fair comparison | Keep material and sample size constant. |
| Repeatability | Record the sequence and hook. |
| Durability | Inspect after realistic handling or care. |
MyPicot’s Cable and Wave stitch combines openwork waves with a textured cable. Its official lesson provides written instructions and a chart in downloadable PDFs.
Read the two languages on the page
Choose this stitch when you want a sample with visible movement and enjoy following an established repeat. Before starting, identify which terms are UK and which are US in the legend. A familiar-looking abbreviation can describe a different stitch height, so mixing the two columns will change the fabric.
Compare one written section with its corresponding symbols before crocheting a large swatch. Mark the beginning and end of the repeat in your own project notes. Keep the official chart available for the details rather than trying to reconstruct the method from a finished-fabric photo.
Measure after the texture has settled
Use the lesson’s foundation formula for your first sample. If you later calculate a different width, separate the repeat multiple from the extra chains and check the turning convention. Do not assume that adding one stitch gives a slightly wider version of the same repeat.
Work enough fabric to see the open areas and cable treatment clearly, then follow the yarn’s finishing guidance before measuring. Record width, height, yarn and hook together. Decide whether the result suits a scarf, a decorative panel or another use only after you have felt its drape and seen the openings. This is a stitch lesson rather than a complete garment pattern, so a larger project also needs its own dimensions, edges and assembly plan.
Continue with a related guide
- Beautiful Crochet Flower Stitch Ideas for Blankets and Home Accents
- Choosing a Granny Square Join: 12 Texture and Assembly Checks
- Granny Square Assembly: 12 Checks for Edges, Layout and Finishing
Before starting: choose yarn and check gauge, read sizing and repeats, then plan finishing and blocking.
Your project notes: Gauge and Measurements
- Selected pattern and access date: ____________________
- Yarn, hook in mm and measured sample: ____________________
- Target dimensions and any pattern-approved adjustment: ____________________
- What you will check before the next stage: ____________________